Edit configuration flags
Adding and modifying configuration flags for your YB-Master and YB-TServer nodes in a YugabyteDB universe allows you to resolve issues, improve performance, and customize functionality.
For more information about the available configuration flags, see the following:
Modify configuration flags
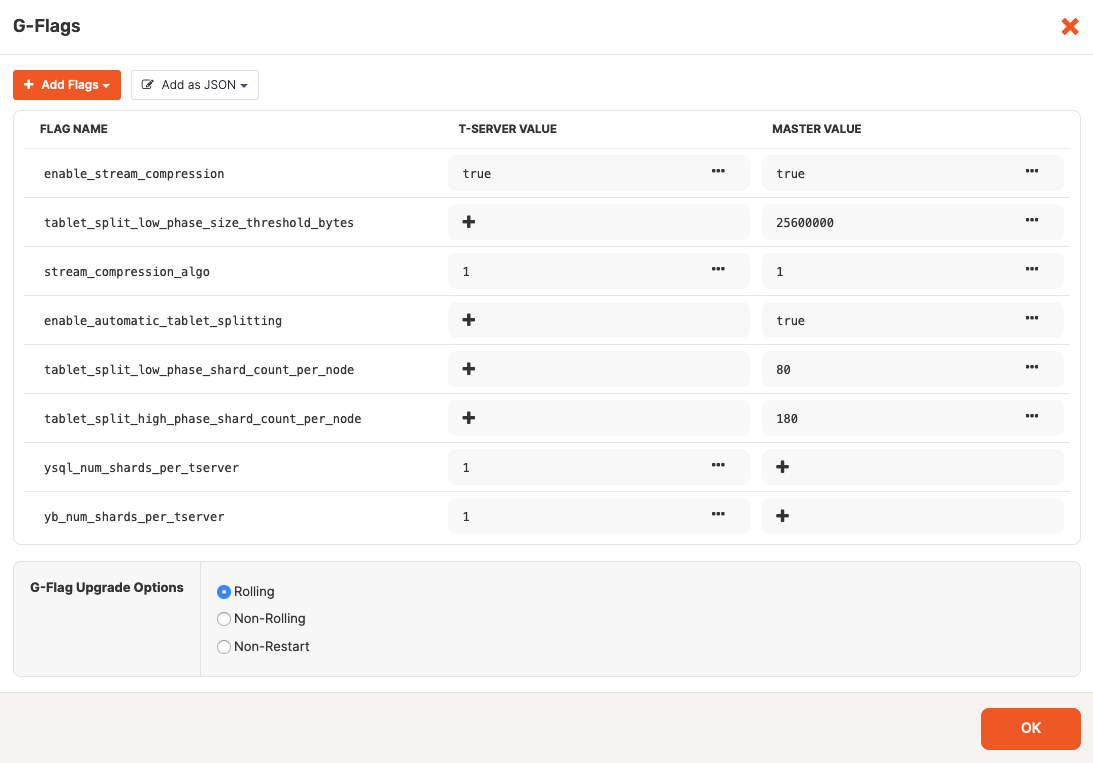
You can modify configuration flags by opening the universe in the Yugabyte Platform console and clicking Actions > Edit Flags to open the G-Flags dialog shown in the following illustration:

Use the Flags dialog to do all or some of the following, as per your requirements:
-
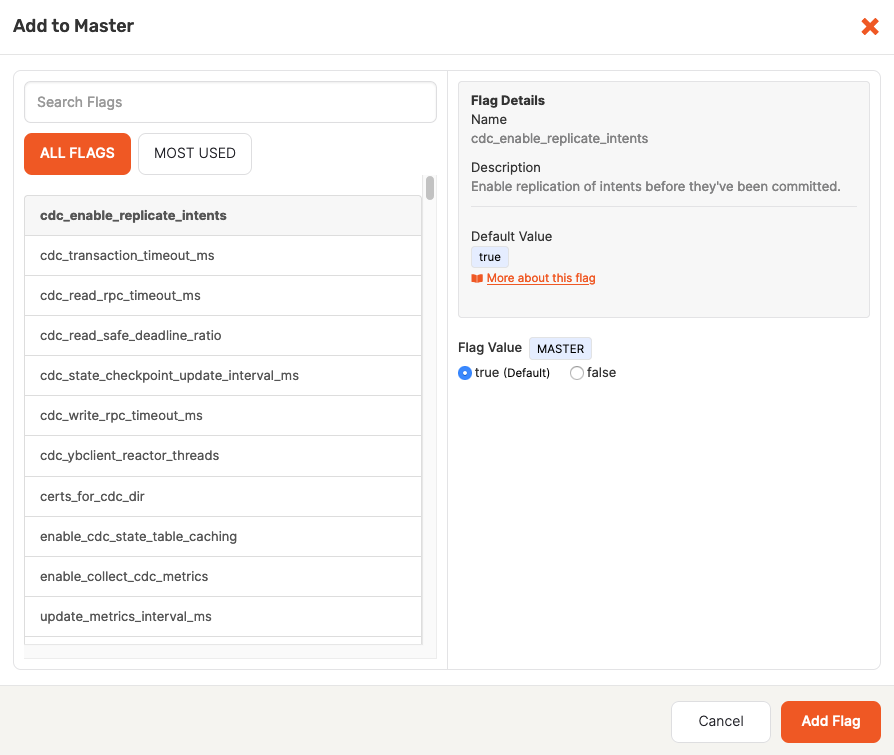
Click Add Flags > Add to Master to open the Add to Master dialog, then select the flag you want to add to YB-Master and set its value, as per the following illustration:

-
Click Add Flags > Add to T-Server to open the Add to T-Server dialog, then select the flag you want to add to YB-TServer and set its value.
-
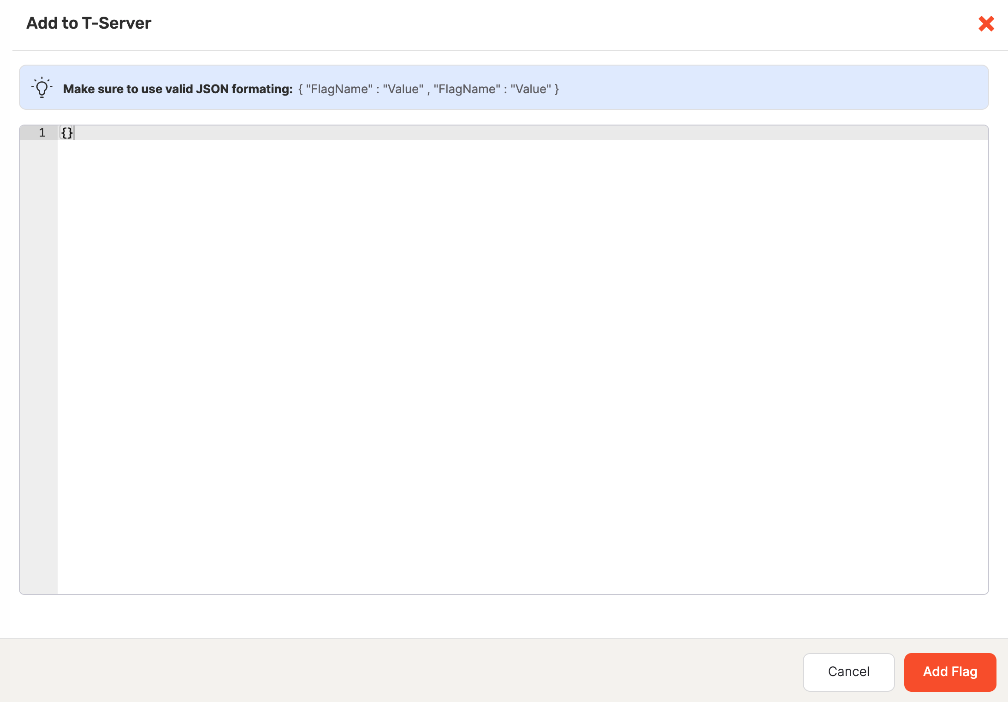
Use Add as JSON > Add to Master and Add as JSON > Add to T-Server to import flags in bulk. The flags must be defined as key-value pairs in a JSON format via the in the Add to T-Server or Add to Master dialog, as per the following illustration:

-
Use the FLAG NAME column to find the flag you want to modify and perform all or some of the following:
-
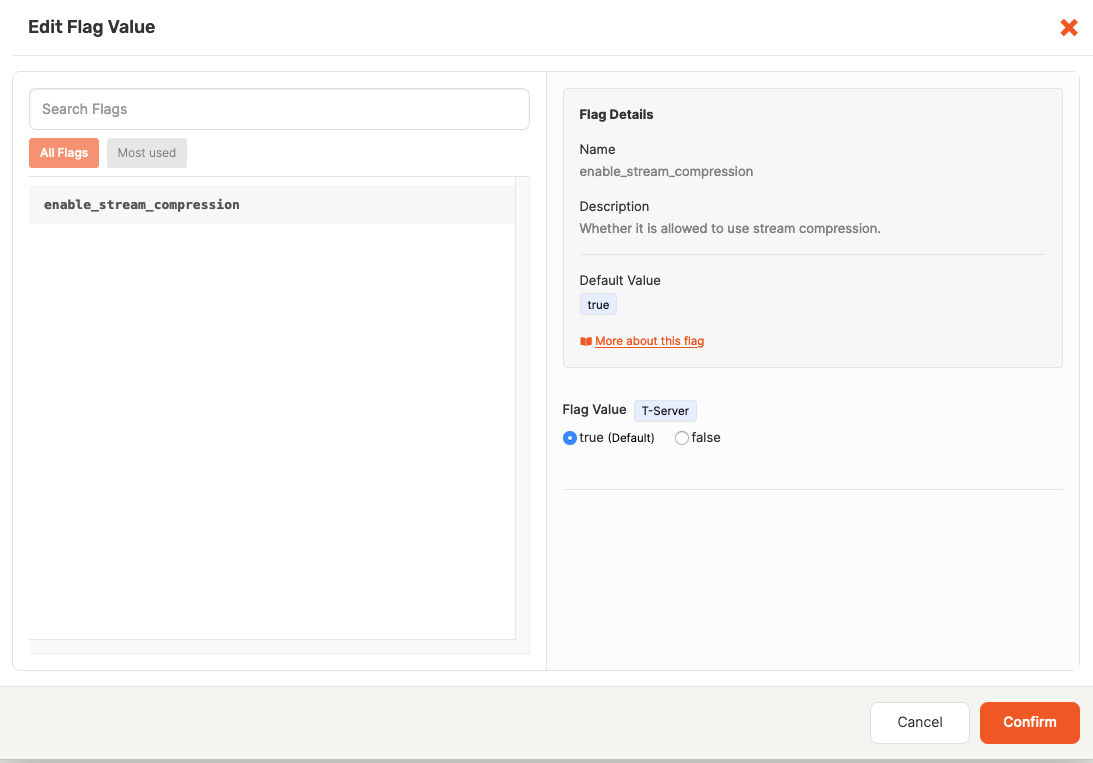
Click the Edit Flag icon for either MASTER VALUE or T-SERVER VALUE to open the Edit Flag Value dialog, as per the following illustration, change the value in the Flag Value field and then click Confirm:

-
To delete the flag's value, click the Remove Value icon for either MASTER VALUE or T-SERVER VALUE or both.
-
Repeat the preceding procedures for every flag that needs modifications.
-
-
Modify the flag upgrade type.
Add configuration flags
You can add configuration flags when you are creating a new universe, as follows:
- Navigate to either Dashboard or Universes and click Create Universe.
- Complete the required sections of the Create Universe page.
- When you reach G-Flags, perform steps described in Modify configuration flags.