Create a multi-zone universe
This document describes how to create a YugabyteDB universe using any cloud provider, except Kubernetes, in one geographic region across multiple availability zones.
Prerequisites
Before you start creating a universe, ensure that you performed steps applicable to the cloud provider of your choice, as described in Configure a cloud provider.
Create a universe
If no universes have been created yet, the Yugabyte Platform Dashboard looks similar to the following:
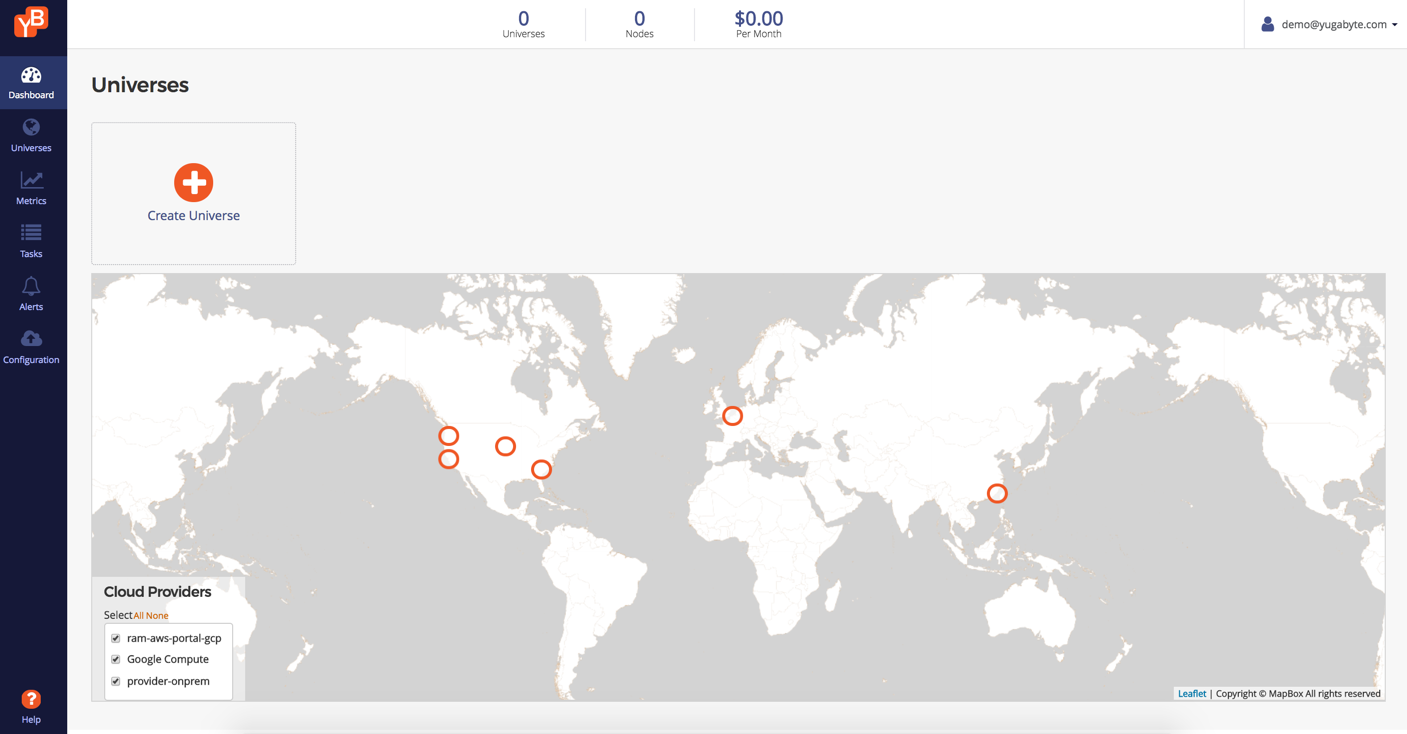
Click Create Universe to create the universe, and then enter your intent.
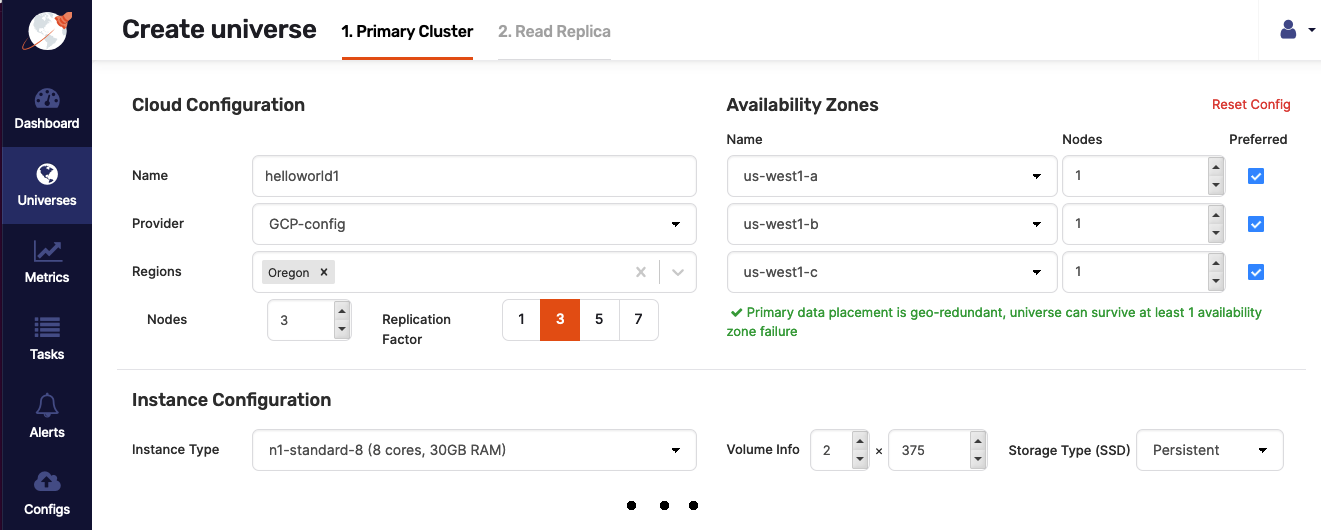
The Provider, Regions, and Instance Type fields are initialized based on the configured cloud providers. When you provide the value in the Nodes field, the nodes are automatically placed across all the availability zones to guarantee the maximum availability.
To create a multi-zone universe using Google Cloud provider (GCP), perform the following:
-
Enter a universe name (helloworld1).
-
Enter the region (Oregon).
-
Change the instance type (n1-standard-8).
-
Accept default values for all of the remaining fields (replication factor = 3, number of nodes = 3), as per the following illustration:
-
Click Create.
Examine the universe
The Universes view allows you to examine various aspects of the universe:
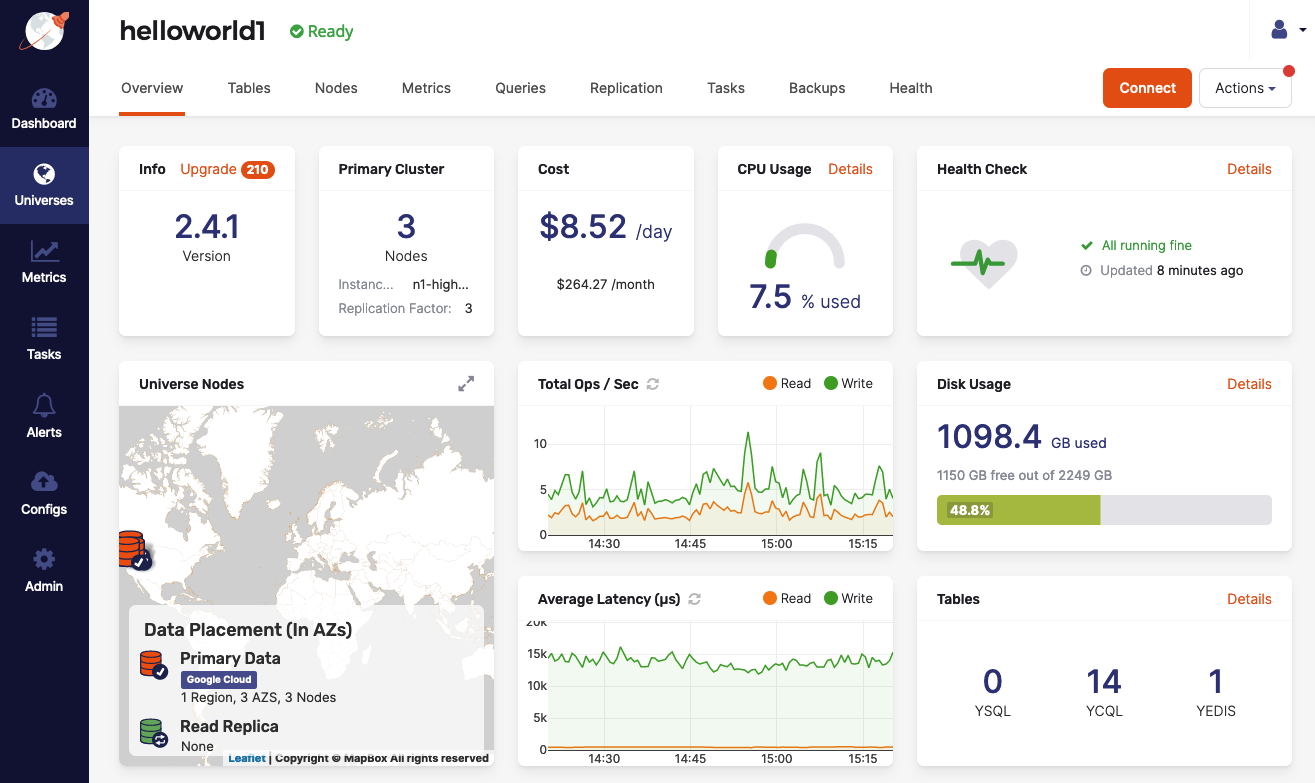
- Overview provides the information on the current Yugabyte Platform version, the number of nodes included in the primary cluster, the cost associated with running the universe, the CPU and disk usage, the geographical location of the nodes, the operations per second and average latency, the number of different types of tables, as well as the health monitor.
- Tables provides details about YSQL, YCQL, and YEDIS tables included in the universe.
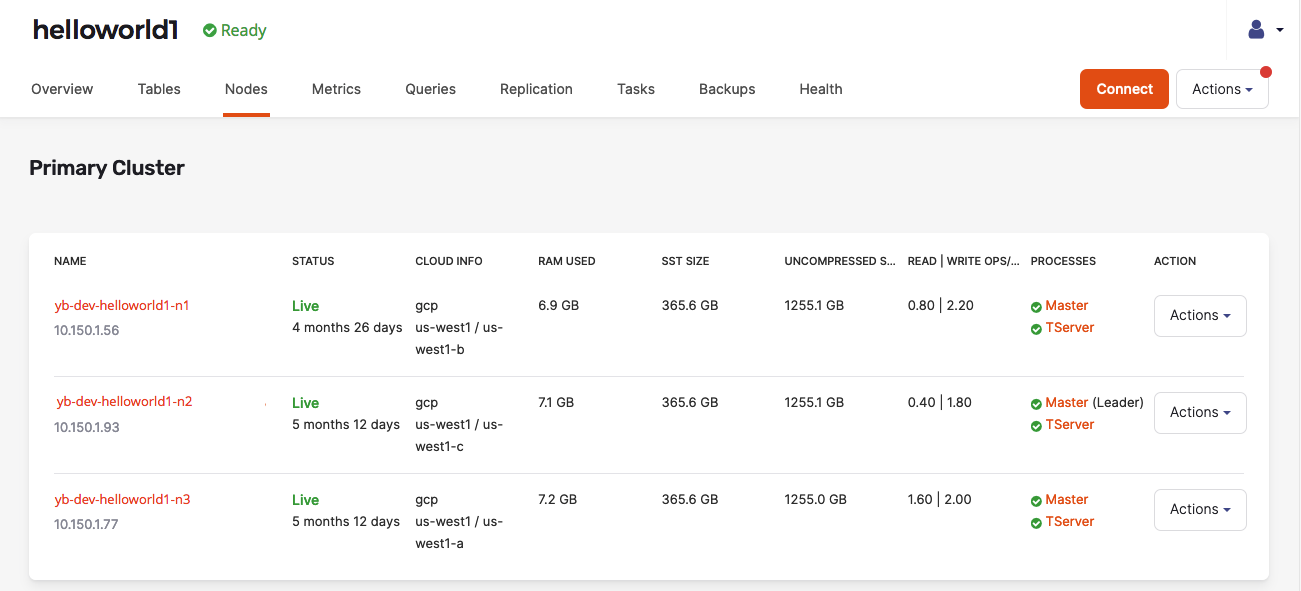
- Nodes provide details on nodes included in the universe and allows you to perform actions on a specific node (connect, stop, remove, display live and slow queries, download logs). You can also use Nodes to open the cloud provider's instances page. For example, in case of GCP, if you navigate to Compute Engine > VM Instances and search for instances that contain the name of your universe in the instances name, you should see a list of instances.
- Metrics displays graphs representing information on operations, latency, and other parameters for each type of node and server.
- Queries displays details about live and slow queries that you can filter by column and text.
- Replication provides information about any asynchronous replication in the universe.
- Tasks provides details about the state of tasks running on the universe, as well as the tasks that have run in the past against this universe.
- Backups displays information about scheduled backups, if any, and allows you to create, restore, and delete backups.
- Health displays the detailed performance status of the nodes and components involved in their operation. Health also allows you to pause health check alerts.
Connect to a database node
Once the universe is ready, its Overview tab should appear similar to the following illustration:
You connect to a database node as follows:
-
Open the Nodes tab to find a list of the IP addresses of the available nodes that have been created and configured, as shown in the following illustration:
-
Determine the node to which you wish to connect and click the corresponding Action > Connect.
-
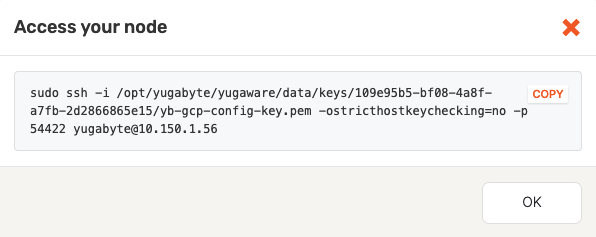
Copy the SSH command displayed in the Access your node dialog shown in the following illustration:
-
Run the preceding command from the Yugabyte Platform server, as follows:
centos@yugaware-1:~$ sudo ssh -i /opt/yugabyte/yugaware/data/keys/109e95b5-bf08-4a8f-a7fb-2d2866865e15/yb-gcp-config-key.pem -ostricthostkeychecking=no -p 54422 yugabyte@10.150.1.56

Are you sure you want to continue connecting (yes/no)? yes
[centos@yb-dev-helloworld1-n1 ~]$
Run workloads
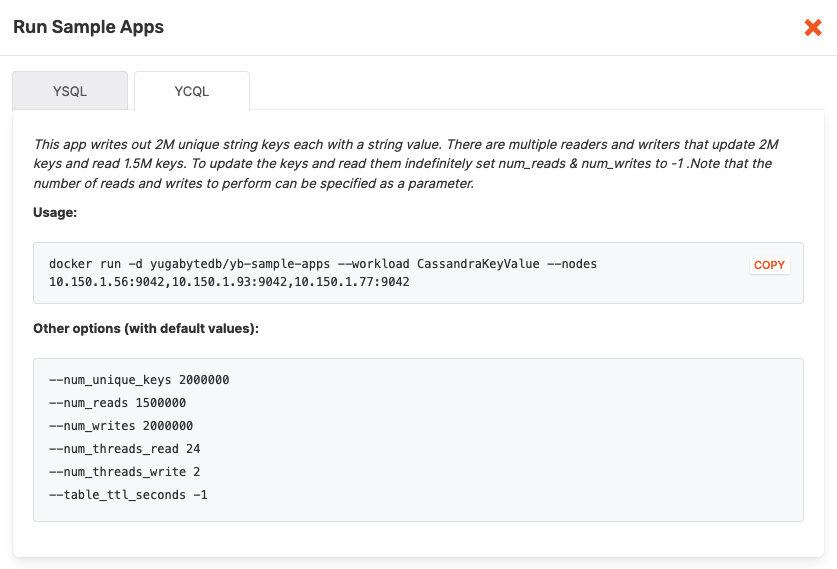
Yugabyte Platform includes a number of sample applications enclosed in Docker containers.
To access instructions on how to run sample applications, select your universe's Overview and then click Actions > Run Sample Apps to open the Run Sample Apps dialog shown in the following illustration:
The Metrics tab of the universe allows you to see the metrics graphs, where server-side metrics tally with the client-side metrics reported by the load tester.
You can also view metrics at a per-node level.
You can stop the load tester as follows:
-
Find the container by executing the following command:
user@yugaware-1:~$ sudo docker container ls | grep "yugabytedb/yb-sample-apps"
Expect an output similar to the following:<container_id> yugabytedb/yb-sample-apps "/usr/bin/java -jar …" 17 seconds ago Up 16 seconds jovial_morse
For example, if the container ID is ac144a49d57d, you would see the following output:ac144a49d57d yugabytedb/yb-sample-apps "/usr/bin/java -jar …" 17 seconds ago Up 16 seconds jovial_morse -
Stop the container by executing the following command:
user@yugaware-1:~$ sudo docker container stop <container_id>
Expect the following output:<container_id>
For example, for a container with ID ac144a49d57d, you would need to execute the following command:user@yugaware-1:~$ sudo docker container stop ac144a49d57d
You would see the following output:ac144a49d57d
Examine data
You can connect to the YCQL service by executing the following command:
/home/yugabyte/tserver/bin/ycqlsh <ip_address_of_the_node>
You can view the table schema and the data, as follows:
ycqlsh> DESCRIBE ybdemo_keyspace.cassandrakeyvalue;

CREATE TABLE ybdemo_keyspace.cassandrakeyvalue (
  k text PRIMARY KEY,
  v blob
) WITH default_time_to_live = 0;
ycqlsh> SELECT * FROM ybdemo_keyspace.cassandrakeyvalue LIMIT 5;
 k          | v
------------+-----------------------------------------
 key:101323 | 0x4276616c3a3130313332336be1dd6597e2...
 key:159968 | 0x4276616c3a3135393936381ed99587c08f...
  key:24879 | 0x4276616c3a3234383739054071b34c3fb6...
 key:294799 | 0x4276616c3a3239343739398b312748e80e...
 key:297045 | 0x4276616c3a32393730343525764eedee94...

(5 rows)
You can connect to the YEDIS service by executing the following command:
/home/yugabyte/tserver/bin/redis-cli -h <ip_address_of_the_node>
You can view the data by running the following commands:
10.138.0.4:6379> GET key:0
"Bval:0\x1b\x942\xea\xf0Q\xd1O\xdb\xf8...=V"
10.138.0.4:6379> GET key:1
"Bval:1\t\x1e\xa0=\xb66\x8b\x8eV\x82...,c"
10.138.0.4:6379>