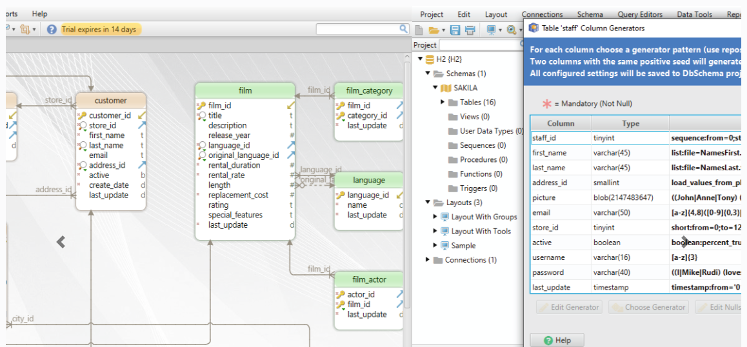
DbSchema
DbSchema is a well-rounded, visual database tool that supports over 40 databases from a single interface. Because YugabyteDB is PostgreSQL compatible, getting DBSchema to work with distributed SQL databases is relatively simple. Follow the steps below to connect DbSchema to YugabyteDB databases, start reverse-engineering schemas, edit entity-relationship (ER) diagrams, browse data, visually build queries, and synchronize schemas.

Before you begin
Your YugabyteDB cluster should be up and running. If you're new to YugabyteDB, create a local cluster in less than five minutes following the steps in Quick Start.
Install DbSchema
- Download the distribution package for the operating system on your client computer from the Download DbSchema page.
- Install DbSchema using the install wizard.
Create a database connection
The steps below are for configuring YugabyteDB running on your local host.
- Launch the DbSchema application. The Welcome to DbSchema page appears.
- On the Start New Project panel, click Start to connect to a database. The Database Connection Dialog opens.
- In the Alias field, enter
YugabyteDBto name the database connection. - From the DBMS dropdown list, select
PostgreSQL. The *Method & Driver field show the available PostgreSQL JDBC drivers. - For the Method & Driver option, select Standard (1 of 2). There is no need to add a driver because DbSchema includes the PostgreSQL JDBC driver.
- In the Compose URL tab, click Remote computer or custom port. The default PostgreSQL values for server host and port appear.
- In the port field, enter
5433(the default port for YugabyteDB) and then click Check (Ping). A message appears saying that the YugabyteDB server is reachable. - Under Authentication, change the Database User to
yugabyte(the default YugabyteDB user). If you have enabled authentication, then you neeed to enter the password. Otherwise, leave the field blank. - Under Database, enter
yugabyte(the default YugabyteDB database) or the name of the database you want to connect to. - Click Connect. The Select Schemas / Catalogs dialog appears.
- Click OK to accept the default options. Otherwise, you can customize the schema information that you want for this connection.
You have successfully created a database connection to the default database (yugabyte) using the default user (yugabyte).
What's next
DbSchema has many interesting features for developers and administrators to explore and use. For help using DbSchema, see the DbSchema documentation.
The default database (yugabyte) is an empty database that you can use to test and explore the functionality of YugabyteDB and DbSchema.
YugabyteDB has many sample databases available for you to explore using DbSchema. To learn more about the available sample databases, see Sample data.