WSO2 Identity Server
This document describes how to use WSO2 Identity Server to manage access to YugabyteDB.
Prerequisites
Before you can start using WSO2 Identity Server, ensure that you have WSO2 Identity Server installed in one of the following locations, depending on your operating system:
- Mac OS:
/Library/WSO2/IdentityServer/<IS_VERSION>/<IS_HOME> - Windows:
C:\Program Files\WSO2\IdentityServer\<IS_HOME> - Ubuntu:
/usr/lib/wso2/wso2is/<IS_HOME> - CentOS:
/usr/lib64/IdentityServer/<IS_HOME>
In addition, perform the following:
-
If it's not already installed, download and install curl.
-
Add the following entry to
/etc/hosts, as per the WSO2 Quick Start Guide:127.0.0.1 localhost.com
Configuring WSO2 Identity Server
Configuring WSO2 Identity Server involves a number of steps.
Update the Database Configuration
You update the database configuration as follows:
-
Modify the deployment configuration file
<IS_HOME>/repository/conf/deployment.tomlto set the database to YugabyteDB. Specifically, change the[database.identity_db]and[database.shared_db]sections as follows:[database.identity_db] type = "postgre" hostname = "localhost" name = "yugabyte" username = "yugabyte" password = "yugabyte" port = "5433" [database.shared_db] type = "postgre" hostname = "localhost" name = "yugabyte" username = "yugabyte" password = "yugabyte" port = "5433" -
Set the following properties to
trueto configure cross-origin resource sharing (CORS) for running the sample application from Quick Start:[cors] allow_generic_http_requests = true allow_any_origin = true
Set Up the Database Driver
You need to download the Postgres JDBC driver into the lib/ directory.
Apply the Yugabyte Patch for WSO2
WSO2 default carbon kernel code violates REPEATABLE READ semantics. Since YugabyteDB has stricter transaction semantics and does not allow unrepeatable read anomaly, you need to do the following in order to be able to use a patch of the critical JAR for YugabyteDB compatibility:
-
Download the patched JAR from GitHub by executing the following command:
wget https://github.com/m-iancu/carbon-kernel/releases/download/4.6.x-yb-1/org.wso2.carbon.registry.core_4.6.2.SNAPSHOT.jar -
Copy the jar into the
<IS_HOME>/repository/components/patches/directory.
Initialize WSO2 Identity Server and YugabyteDB
You can initialize WSO2 Identity Server and YugabyteDB as follows:
-
Set up the initial database schema and load data as follows:
-
Download the corresponding SQL dump file for your version of WSO2 Identity Server.
For example, for WSO2 Identity Server 5.11.0, you would execute the following command:
wget https://gist.githubusercontent.com/m-iancu/8e892e7257efcd0c37c8e459e2a4066d/raw/489ee3eeb06a05ab2f2896bdd6d2480eb864a8ff/wso2_is_5.11.0.sql -
Download and start YugabyteDB by following instructions provided in Downloading YugabyteDB and YugabyteDB Quick Start Guide.
-
Load the SQL dump into YugabyteDB by executing the following command:
./bin/ysqlsh -f wso2_is_5.11.0.sql
-
-
Start WSO2 Identity Server by executing the following command:
sudo wso2is-5.11.0
Sample Applications
You can run WSO2 Identity Server sample applications as follows:
-
Download sample applications from GitHub by executing the following command:
unzip is-samples-distribution.zipThe
is-samples-distribution.zipfile is typically extracted into a directory calledIS_SAMPLES. -
Start the application server from the
IS_SAMPLESdirectory by executing the following command:./IS-QSG/bin/app-server.sh -
Start the samples from another shell terminal by navigating to the same
IS_SAMPLESdirectory and executing the following command:./IS-QSG/bin/qsg.sh
To test one of the samples, start the first version of the application called Single-Sign-On by typing 1 at the prompt, as shown in the following illustration:

This creates the following two users that you can use to test login:
Junior Manager
Username: alex
Password: alex123

Senior Manager
Username: cameron
Password: cameron123
Run the sample applications
You can test the pickup dispatch functionality as follows:
-
Navigate to http://localhost.com:8080/saml2-web-app-pickup-dispatch.com/ and click Login.
-
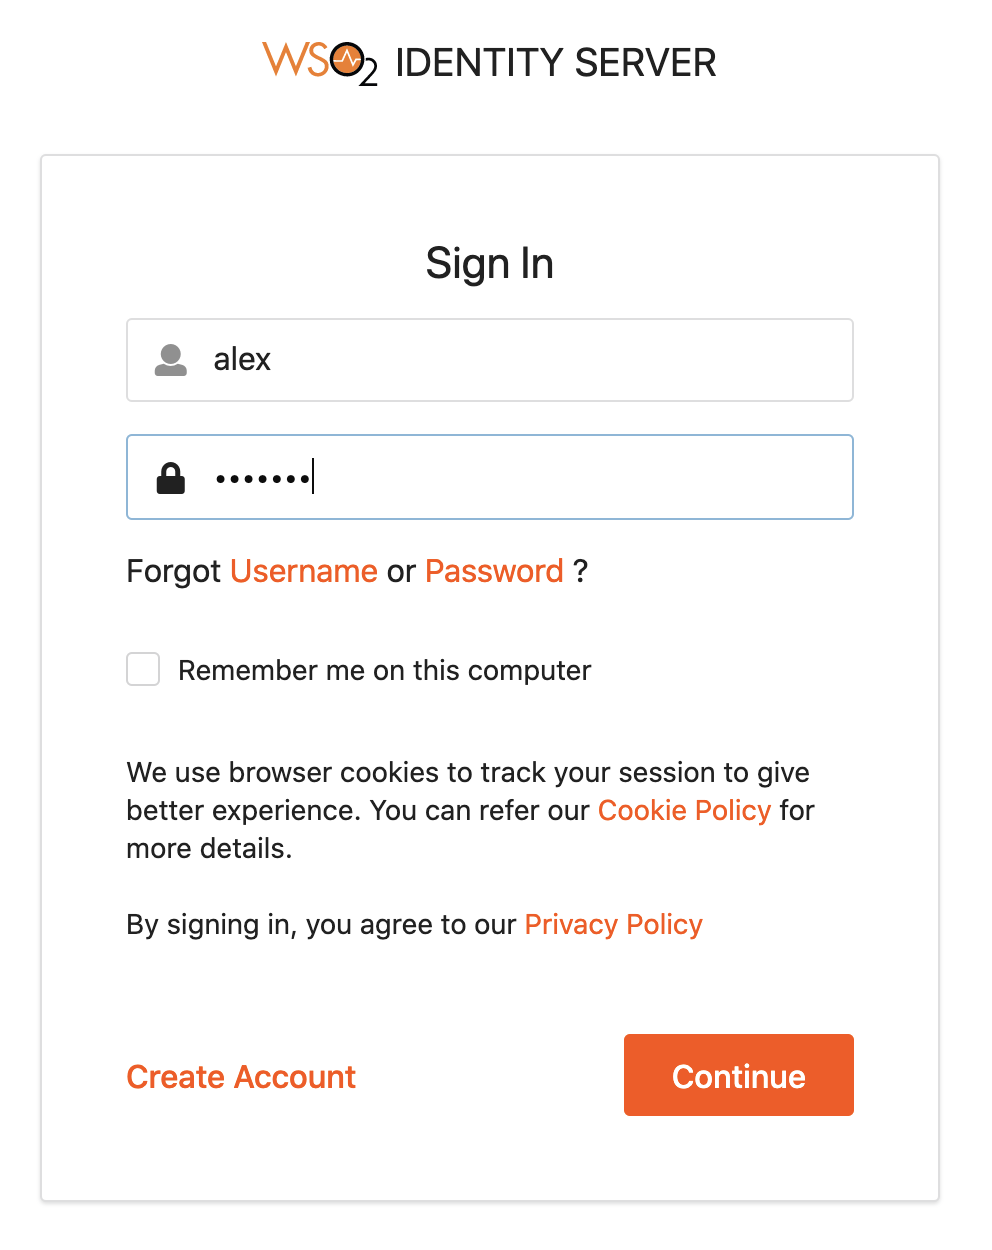
On the Sign In dialog shown in the following illustrations, enter the login credentials of one of the users (alex or cameron), and then click Continue.

-
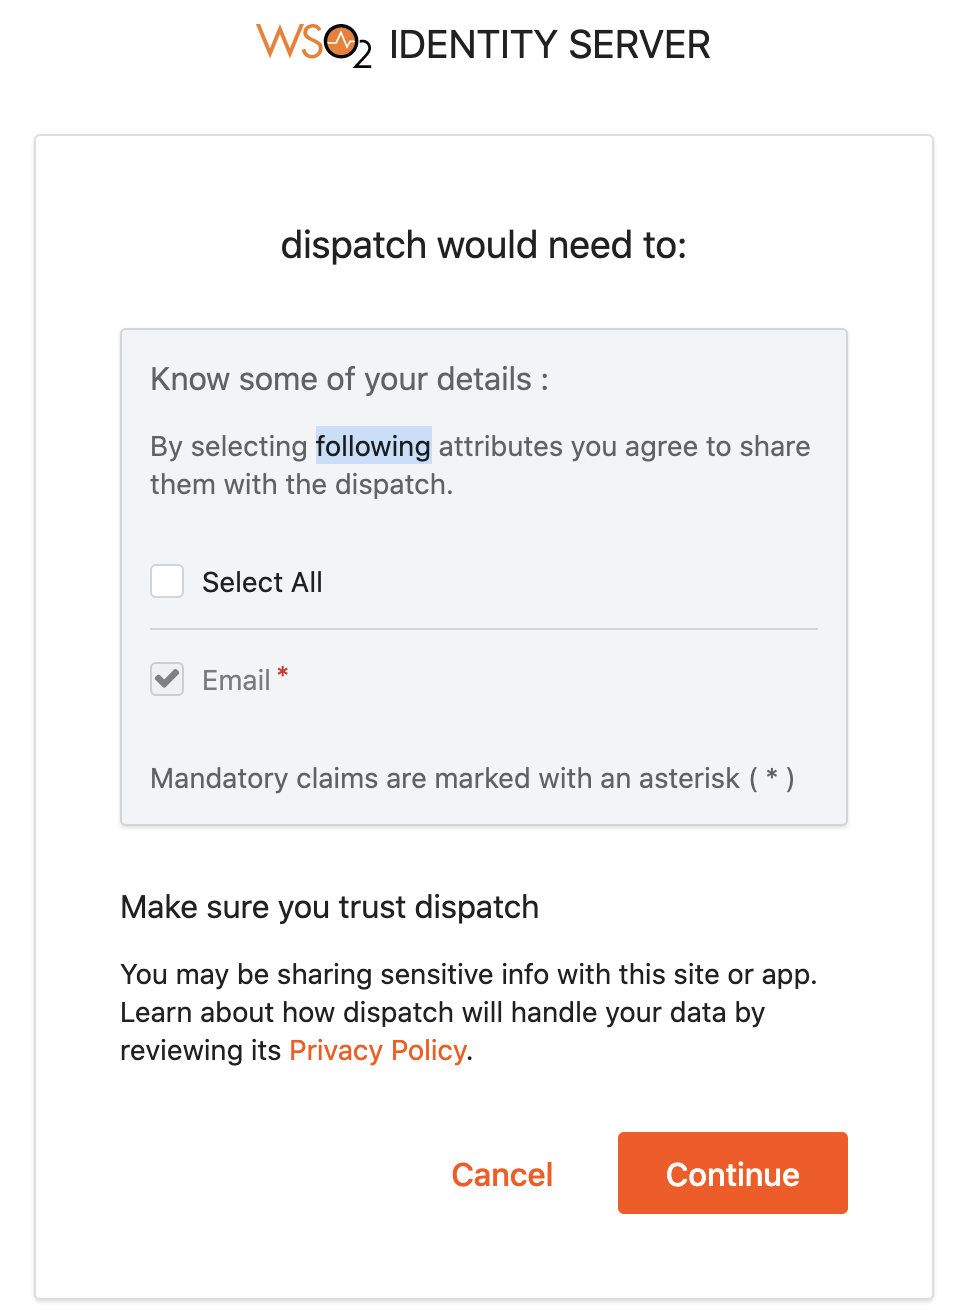
Confirm the settings via the Dispatch would need to dialog shown in the following illustrations and click Continue.

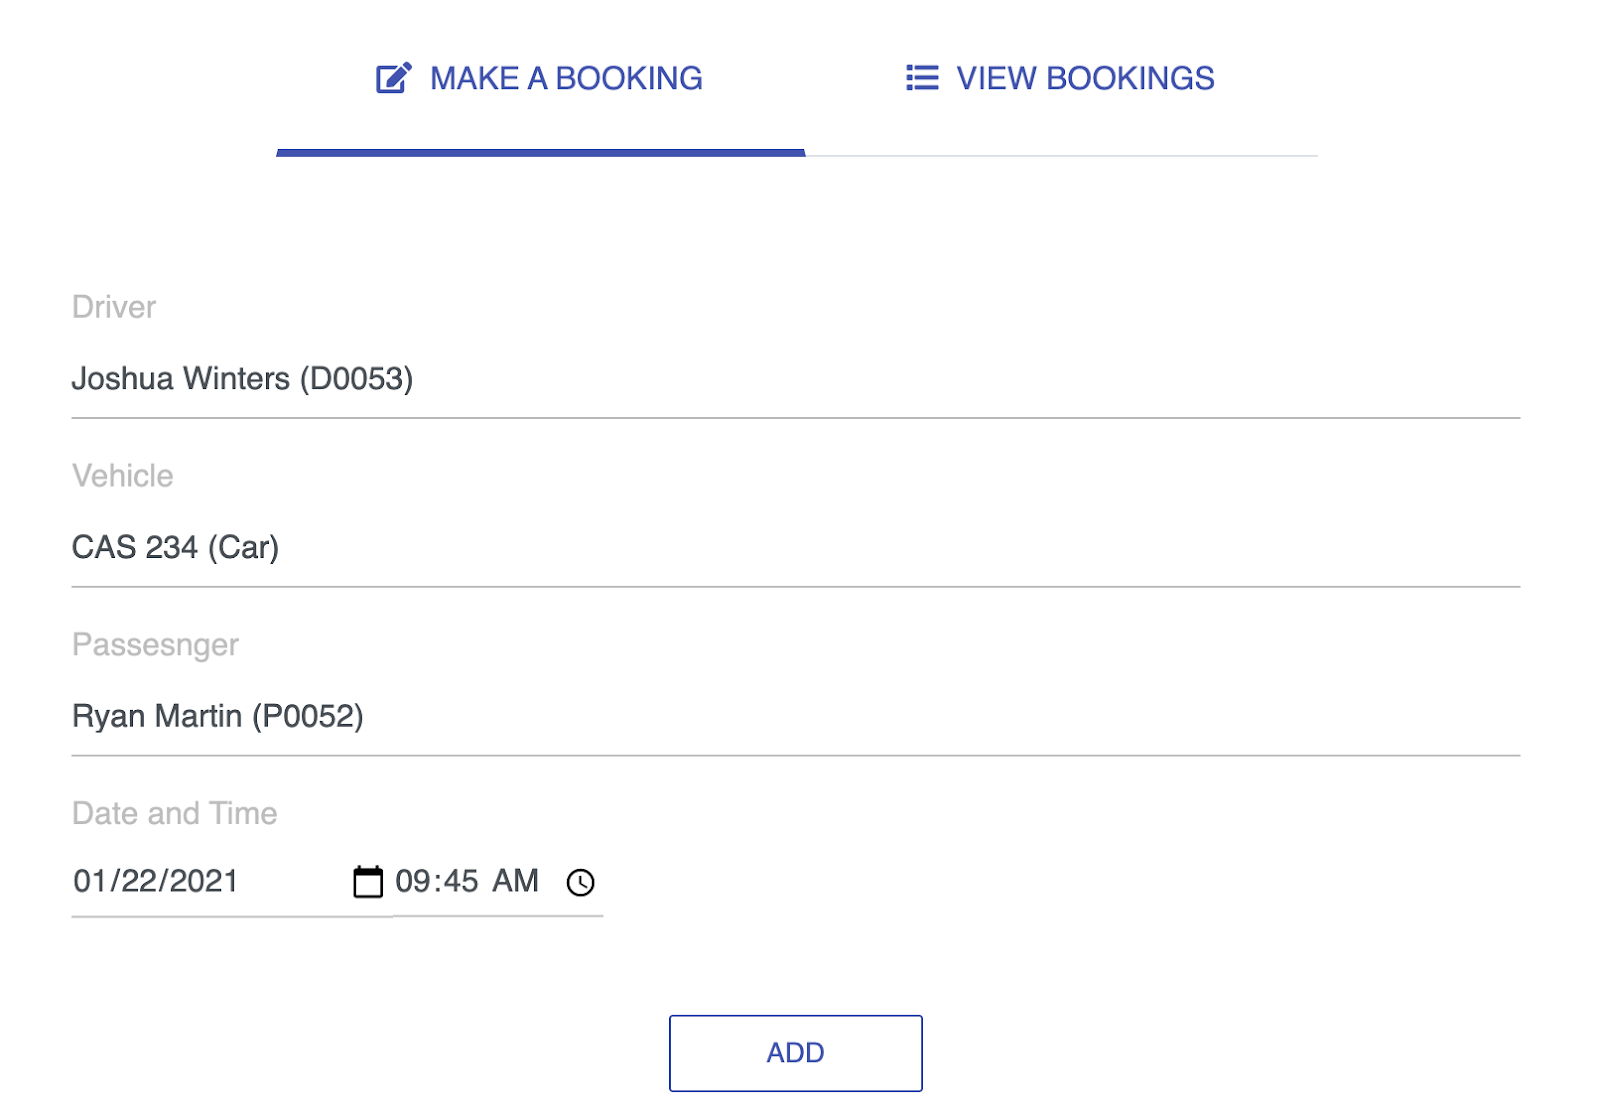
Upon completion, the vehicle booking sample application opens, as shown in the following illustration:

To test the pickup manager functionality, navigate to http://localhost.com:8080/saml2-web-app-pickup-manager.com/ and perform the preceding login steps. Once logged in, the vehicle pickup manager sample opens, as shown in the following illustration:
